.png?width=300&height=71&name=original_logo(L).png)
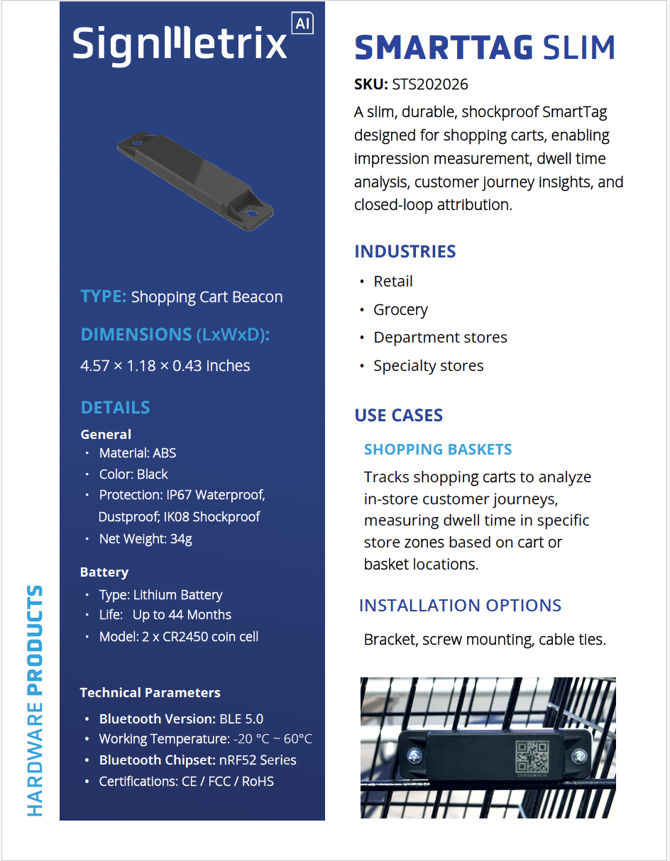
This guide describes the step-by-step installation of a shopping cart beacon.
1. Hardware Specifications
| Parameter | Specification |
|---|---|
| Dimensions (L × W × D) | 4.57 × 1.18 × 0.43 inches (116 × 30 × 11 mm) |
| Housing | Black ABS |
| Net weight | 34 g |
| Protection ratings | IP67 / IK08 |
| Connectivity | Bluetooth Low Energy (BLE) 5.0 |
| Chipset | nRF52 Series |
| Battery | 2 × CR2450 lithium coin cells |
| Battery life | Up to 44 months, depending on configuration and operating conditions |
| Operating temperature | −4°F to 140°F (−20°C to 60°C) |
| Certifications | CE / FCC / RoHS |
For more details: Shopping Cart Beacon Spec Sheet
2. Installation Requirements
- One SmartTag Slim beacon per shopping cart.
- A mounting bracket with two matching fasteners and required nuts.
- A screwdriver matching the supplied fasteners.
Use the specified mounting hardware and follow the bracket’s tightening specifications. The beacon requires no external power cable.
3. Installation Steps
Step 1 — Mounting Location
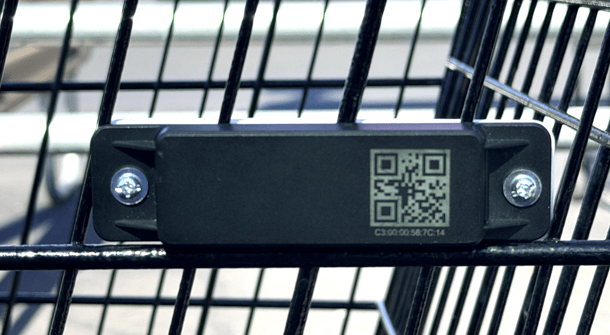
Mount the beacon horizontally on the rear section of the cart’s left side wire panel, near the handle end, immediately above the horizontal support wire. Keep the identification label visible and accessible.

Step 2 — Position the Beacon and Bracket
Place the beacon against the wire panel. Position the bracket on the opposite side of the panel and align it with both beacon mounting holes, keeping the cart wires between the beacon and bracket.
Step 3 — Insert the Fasteners
Insert both fasteners through the mounting holes and secure them with the required nuts. Start both loosely, keeping the beacon horizontal and the bracket evenly positioned.
Step 4 — Tighten and Check
Tighten both fasteners gradually and evenly. Gently check that the beacon and bracket do not slide, rotate, or wobble. If loose, tighten further as needed without overtightening.
4. Maintenance
Inspect the beacon, bracket, and fasteners during routine cart maintenance. Replace damaged components and tighten loose hardware according to the mounting specifications.